


That really depends on how much liquid you're dealing with. If it’s just a small amount like a splash from a water bowl or a light coffee spill, many robot vacuums can handle it just fine. However, larger spills could lead to serious problems, including internal damage to the machine.
We’ll explore the challenges robot vacuums face when cleaning up liquids, how some models manage small spills effectively, and what steps you should take if your vacuum encounters more than it can handle. You’ll also get a look at smart features like moisture detection and adaptive mopping, plus find out which models are best suited for homes with everyday messes.
The Challenges of Cleaning Liquid Spills with a Robot Vacuum
While robot vacuums excel at cleaning dry debris, such as dust, dirt, and pet hair, liquid spills are an entirely different challenge. Here's why.
Sensor Limitations: Struggling to Detect Wet Surfaces
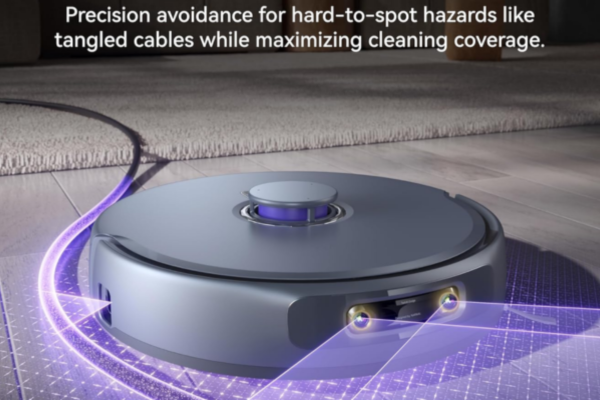
Most robot vacuums are equipped with infrared or optical sensors that help them detect obstacles and cliffs. However, these sensors have a key limitation when it comes to liquids. They can't differentiate between a dry surface and one that is wet. This means that when liquid spills occur, the vacuum might not recognize the mess as an area that needs special attention. As a result, the vacuum might miss the spill or fail to adjust its cleaning method to effectively address it.
Vacuum Suction and Liquid Absorption
Robot vacuums are designed to pick up dry dirt, such as dust and small debris. Their suction systems are not built to handle liquids. The suction strength, while powerful enough for dry debris, is often insufficient for efficiently sucking up water or other liquids. Moreover, liquid can quickly clog the suction nozzle, making the vacuum ineffective at cleaning up the mess. This is particularly problematic when dealing with larger spills or wet floors.
Sticky Liquids: The Toughest Challenge
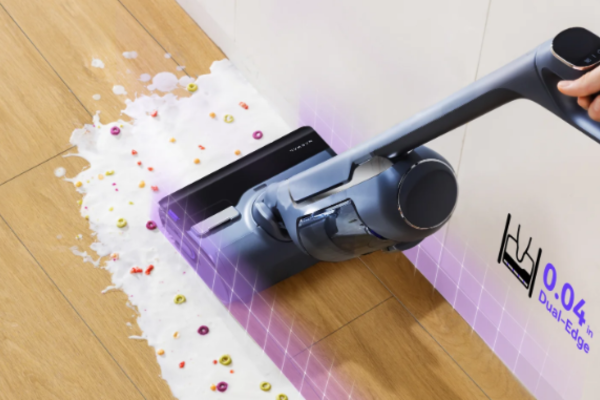
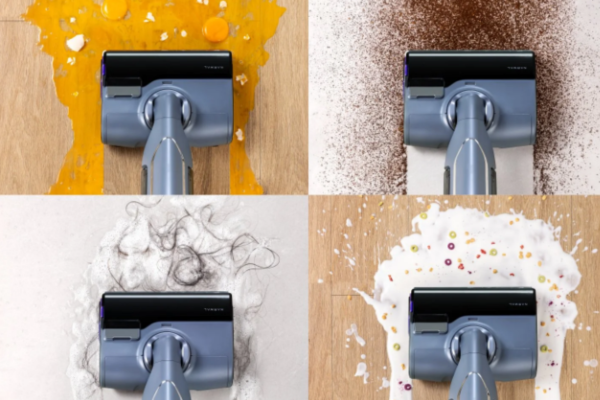
Things get even more complicated when the spill involves sticky liquids like syrup, juice, or soda. These liquids not only spread easily but also cling to the floor, making them harder to remove. Most robot vacuums are not equipped with mechanisms to tackle these sticky substances. Without additional cleaning tools or settings, a robot vacuum may struggle to leave your floors spotless after a sticky spill.
Despite these challenges, some robot vacuums are better equipped than others to clean up liquid spills. Here's how they handle the task.
Automatic Robot Vacuums: Liquid Detection and Automated Cleaning
Automatic robot vacuums designed to handle liquid spills rely on a combination of advanced sensors, water dispensing systems, and suction adjustments to effectively clean the mess. Let’s walk through each stage of the cleaning process.
Step 1: Detecting the Liquid Spill
The first step in cleaning a liquid spill is detection. Moisture sensors, like capacitive sensors, detect changes in electrical conductivity when liquid is present, triggering the robot to start cleaning.
Advanced models, like the Narwal Freo Z Ultra, use AI DirtSense™ technology combined with dual RGB cameras. These cameras, with 1080P HD resolution and a 136° ultrawide angle, visually detect liquid spills by capturing changes in the floor’s texture or sheen. This system allows the robot to quickly identify and respond to liquid messes, switching its cleaning mode accordingly.
While infrared sensors are also used in some models, they are less accurate than moisture sensors or AI-based systems in detecting liquid spills.
Step 2: Adjusting the Cleaning Mode
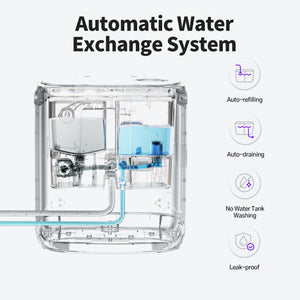
After detecting the liquid, the robot adjusts its cleaning mode. This is where its water dispensing system comes into play. The robot releases a controlled amount of water or cleaning solution onto the floor. The amount dispensed is carefully calibrated to avoid oversaturating the surface and creating more of a mess.
Additionally, the robot adjusts its suction power. Unlike dry cleaning, where high suction is necessary to lift dirt, cleaning liquid spills requires more delicate suction control. If the suction is too strong, it could spread the liquid, making the mess worse. Too weak, and it wouldn’t effectively remove the liquid. The robot lowers its suction power to gently remove the liquid while preventing any further disruption of the spill.
Step 3: Cleaning the Spill Area
Once the cleaning mode is activated, the robot begins the actual cleaning process. The mop cloth, which has been dampened by the water dispensing system, begins to move across the floor. The mop scrubs the surface, effectively lifting the liquid and dirt.
As the mop works, the robot’s suction system activates, pulling up the excess liquid and any debris that may have mixed with it. The suction works in tandem with the mop to ensure that the liquid is absorbed and removed without leaving excess moisture on the floor.
Step 4: Finalizing the Clean-Up
After the initial cleaning, the robot may perform a few more passes over the spill area. This final step ensures that all excess liquid is removed, and the floor is properly dried. The robot checks the surface for any remaining moisture, ensuring that the floor is safe to walk on and there are no puddles left behind.
Manual Robot Vacuums: Using Wet Mopping Features
Manual robot vacuums that are not equipped with automatic liquid detection sensors rely on wet mopping features to handle liquid spills. These vacuums can still clean up spills effectively by using a combination of mopping and suction. Let's break down the process in detail.
Step 1: Applying the Cleaning Solution
The process begins with applying the cleaning solution to the floor. The robot uses a wet mop system that automatically releases water or cleaning liquid onto the mop cloth. This is usually done through a small water tank within the vacuum, which is designed to provide a steady but controlled amount of liquid. The liquid helps dampen the mop, enabling it to absorb and wipe up the spill.
The vacuum does not oversaturate the mop. Instead, it dispenses just enough liquid to ensure the mop is effective without causing puddles or leaving residue on the floor. This balance is critical because too much liquid could damage floors, while too little would not clean effectively.
Step 2: Mopping the Spill Area
Once the liquid is applied, the vacuum begins to mop the floor. The mop cloth, now dampened, moves across the floor and begins to absorb the spilled liquid. As the vacuum moves forward, the mop gently scrubs the surface, helping lift the liquid and any dirt that may be mixed with it.
At the same time, the vacuum’s suction system is activated. This suction is not as strong as the dry suction mode, but it is powerful enough to pull up excess liquid from the floor and into a collection tank or waste compartment. The suction also helps prevent liquid from being spread further around the floor.
Step 3: Removing Excess Liquid
The final step involves removing any leftover liquid that may remain on the floor. After the mop cloth absorbs the spill, the vacuum's suction pulls up the remaining moisture. This ensures that the floor is cleaned without leaving a wet, slippery surface. The vacuum continuously adjusts its mop and suction functions to make sure it is not just cleaning the liquid but also extracting it efficiently.
Which Robot Vacuums Are Best for Cleaning Small Liquid Spills?
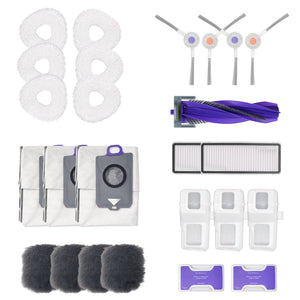
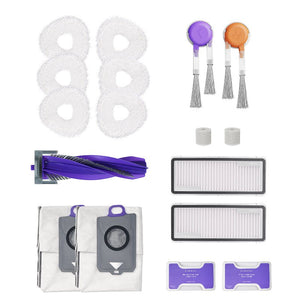
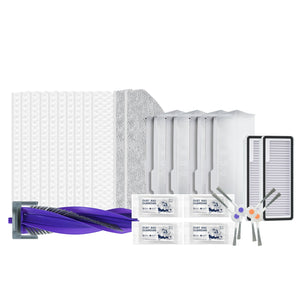
While most robot vacuums aren't designed to handle large volumes of liquid, several advanced models can effectively manage small liquid spills, such as water drips, beverage splashes, or pet water bowl accidents. Here are three Narwal models that excel at this task through precise mopping systems and intelligent controls.
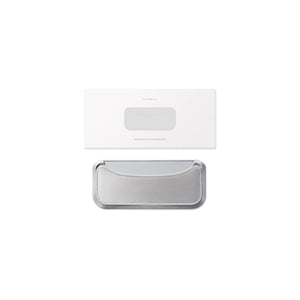
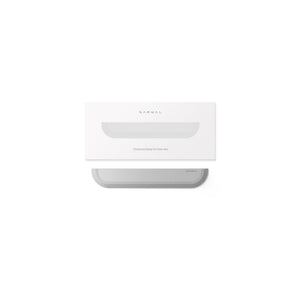
Narwal Freo Z Ultra – Smart Detection for Small Spills
Equipped with dual 1080p RGB cameras and AI DirtSense™, the Freo Z Ultra identifies small liquid spills and adjusts its cleaning mode accordingly. It activates a damp mopping process and automatically adjusts suction to prevent spreading the mess. Its self-cleaning mop system ensures hygiene after each cycle, making it a great hands-free option for daily liquid maintenance.
[cta:narwal-freo-z-ultra-robot-vacuum-mop]
Narwal S20 Pro – Strong Suction with Targeted Mopping
With 20,000Pa suction and a precision-controlled mopping system, the S20 Pro efficiently handles minor liquid messes. It dispenses cleaning fluid evenly, absorbs the liquid, and dries the floor without streaks. Ideal for busy households needing a reliable solution for everyday spills.
[cta:narwal-s20-pro-vacuum-mop]
Narwal Freo Z10 – Corner-to-Corner Cleaning for Liquid Drips
The Freo Z10 features a bionic triangular mop and DirtSense™ 3.0, enabling it to detect and repeatedly scrub small spill zones—especially in corners and along walls. With 15,000Pa suction, dynamic mop pressure, and 75°C hot water self-cleaning, it excels at removing sticky or dried liquid residue from floors.
[cta:narwal-freo-z10-robot-vacuum-mop]
What to Do When Your Robot Vacuum Runs Into a Big Spill
Even the smartest robot vacuums can run into trouble if they unknowingly drive through a large puddle of water, juice, or other liquid. If this happens, it’s important to act quickly to prevent damage and ensure safety.
Step 1: Turn Off the Robot Immediately
If your robot vacuum is still running, pause or power it off immediately using the app or onboard button. Continuing to operate can cause short circuits or further damage to internal electronics.
Step 2: Unplug the Dock (If Wet)
If the charging dock is located near the spill and has been exposed to liquid, unplug it right away. Avoid using the dock again until it is completely dry.
Step 3: Dry the Robot Exterior
Use a clean, absorbent cloth to gently wipe down the exterior of the robot vacuum, especially around the wheels, sensors, brushes, and water tank area. Do not shake or tilt the vacuum aggressively, as this could spread internal moisture.
Step 4: Check for Internal Moisture
If you suspect that liquid may have entered the robot's body:
-
Remove the dustbin, water tank, and mop module (if applicable)
-
Leave the robot upside down or on its side in a dry, well-ventilated space for 24–48 hours
-
Avoid turning it on during this time
If the spill involved a sticky liquid like soda or milk, the robot may need deeper cleaning or professional servicing to avoid corrosion and odor buildup.
Step 5: Contact Customer Support
For significant spills or if the robot does not restart after drying, contact the manufacturer’s support team. Using a robot vacuum on large spills may void the warranty, so it’s best to clarify next steps with official guidance.
Keep Spills Under Control, the Smart Way
Now you know—not all spills are equal, and not all robot vacuums are built the same. For small daily messes, smart features like AI-powered detection and targeted mopping make all the difference. And when life gets unexpectedly messy, you’ll be ready.
By choosing the right vacuum, you’re not just cleaning—you’re upgrading peace of mind.
Ready for Smarter Cleaning? Explore Narwal’s advanced lineup.
Get expert guidance and find your match today—so your floors stay spotless, no matter what life spills next.


