


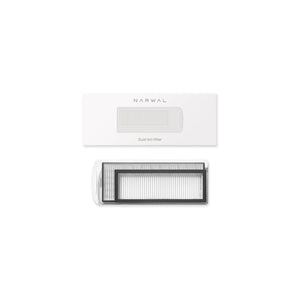


To maintain your robot vacuum’s brushes, you’ll need to clean them regularly, check for debris or damage, and replace them when needed. This helps your vacuum clean better, run longer, and avoid unnecessary wear.
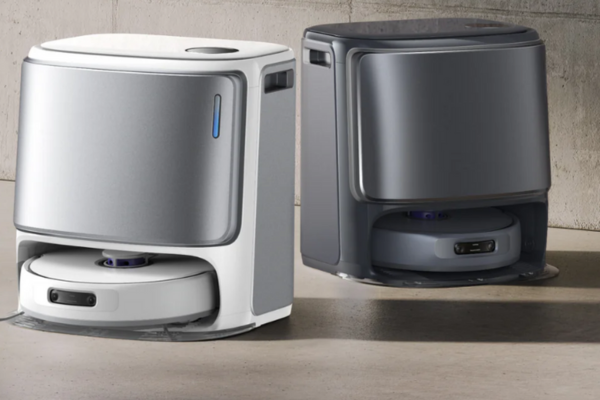
We’ll show you how to take care of your brushes step by step, using the Narwal Freo Z Ultra as an example. You’ll learn how to tell the different brush types apart, remove and clean them properly, check the bearings, and put everything back in place. You’ll also get tips on how often to clean, what to do if the brushes stop spinning, and other simple ways to keep your vacuum in great shape.
Step-by-Step Guide: Cleaning Brushes in Narwal Freo Z Ultra
Proper cleaning requires a systematic approach. Below, we’ll guide you through each step, ensuring your brushes are free from dirt and ready to perform at their best.
Step 1: Prepare for Cleaning
Get your tools ready and prepare your workspace before you begin. Proper preparation makes the process smoother and prevents accidental damage.
- Turn off the Narwal Freo Z Ultra to ensure safety.
- Turn the vacuum over onto a soft, flat surface, such as a towel, to safeguard both the device and your flooring.
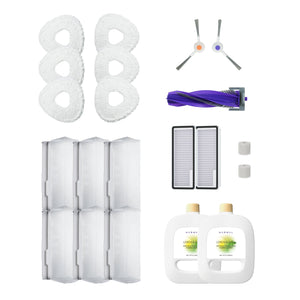
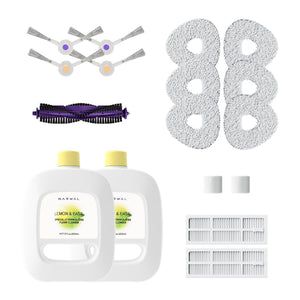
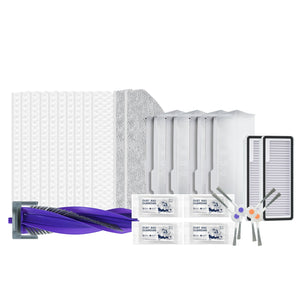
- Gather your tools, including a cleaning brush, scissors, and a soft cloth. If you have the Narwal cleaning tool, use it for easier hair removal.
Once everything is ready, move on to removing the brushes.
Step 2: Understand the Brush Types
Before taking anything apart, let’s get familiar with the two types of brushes in your Narwal Freo Z Ultra. Knowing what they do and where they are will make the next steps much easier.
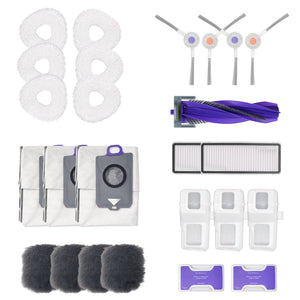
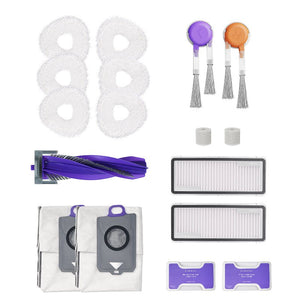
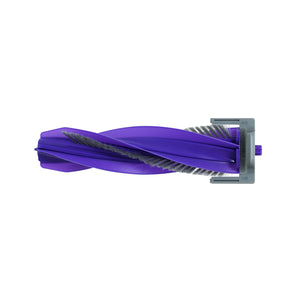
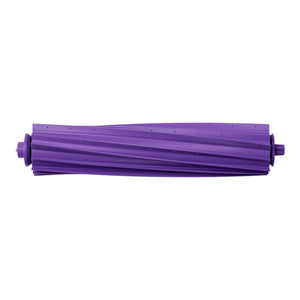
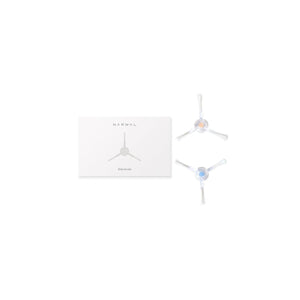
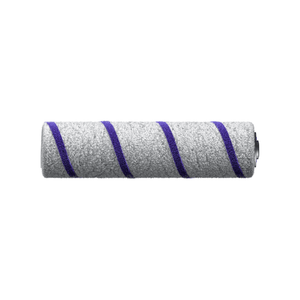
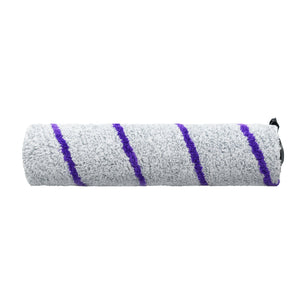
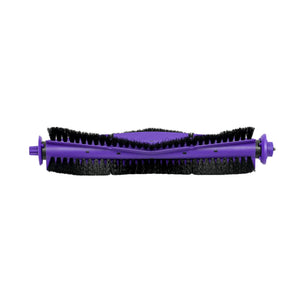
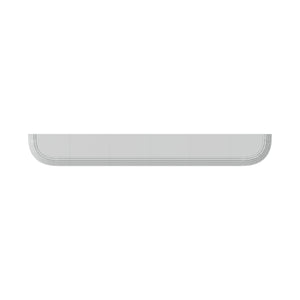
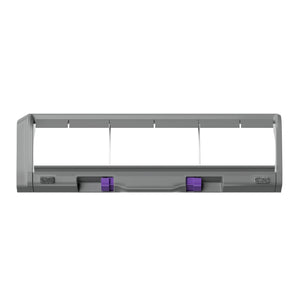
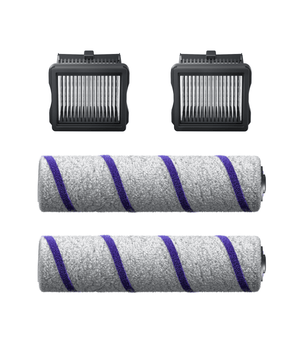
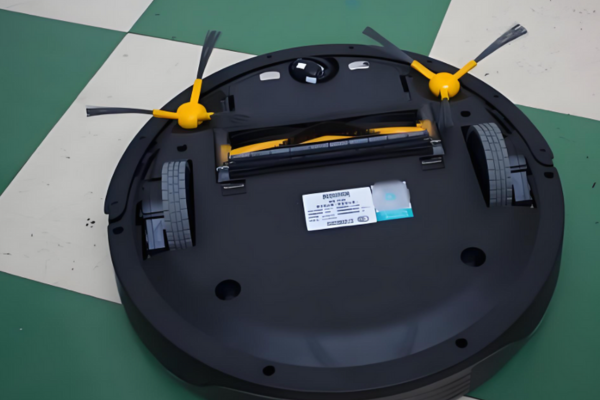
The Cyclone Tangle-Free Roller Brush is the main brush. It sits in the center on the bottom of the vacuum. This brush picks up most of the dust, hair, and debris from your floors. Thanks to its tangle-free design, it handles long hair better than regular brushes and is easier to clean.
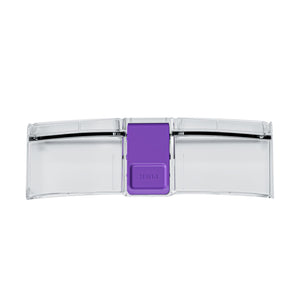
The side brushes are smaller and placed on each side of the vacuum’s base. As the vacuum moves, they spin to sweep dirt out of corners and along walls, pushing it toward the main roller brush for collection.
You’ll be removing both types of brushes for cleaning. Now that you know what they are and what they do, let’s move on to taking them out.
Step 2: Understand the Brush Types
Before taking anything apart, let’s get familiar with the two types of brushes in your Narwal Freo Z Ultra. Knowing what they do and where they are will make the next steps much easier.
The Cyclone Tangle-Free Roller Brush is the main brush. It sits in the center on the bottom of the vacuum. This brush picks up most of the dust, hair, and debris from your floors. Thanks to its tangle-free design, it handles long hair better than regular brushes and is easier to clean.
The side brushes are smaller and placed on each side of the vacuum’s base. As the vacuum moves, they spin to sweep dirt out of corners and along walls, pushing it toward the main roller brush for collection.
You’ll be removing both types of brushes for cleaning. Now that you know what they are and what they do, let’s move on to taking them out.
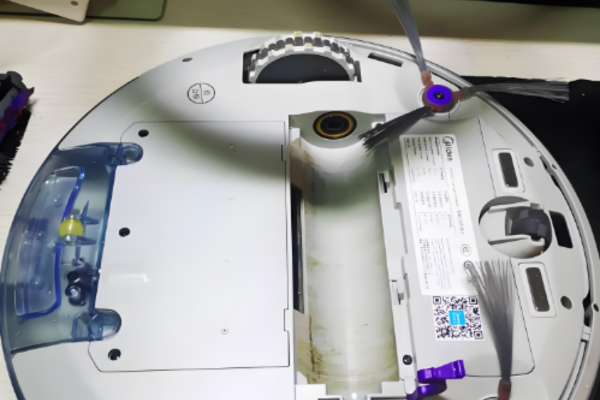
Step 3: Remove the Brushes
To clean the brushes thoroughly, you first need to detach them from the vacuum. This step is quick and straightforward, thanks to the user-friendly design of the Narwal Freo Z Ultra.
-
Cyclone Roller Brush:
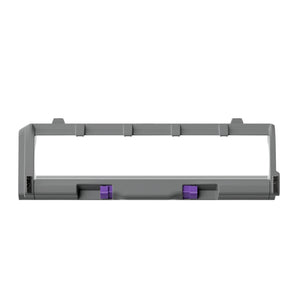
- Find the brush housing underneath the vacuum.
- Press the side latch to release the brush guard, then gently pull out the roller brush. Its tangle-free design makes removal hassle-free.
-
Side Brushes:
- Grip each side brush and pull it straight up to detach it from its slot.
- If screws hold the brushes in place, gently unscrew them using a screwdriver.
Now that the brushes are removed, you can focus on cleaning them.
[cta:narwal-freo-z-ultra-robot-vacuum-mop]
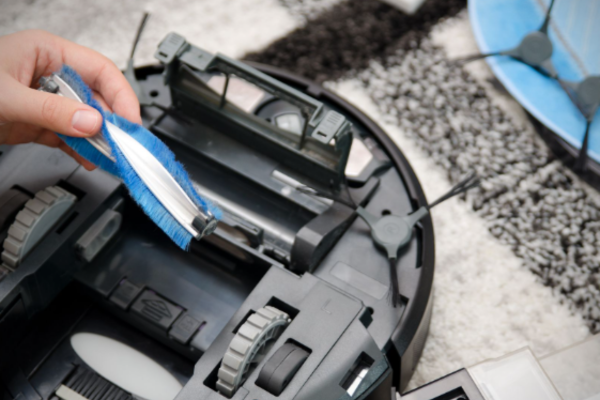
Step 4: Clean the Cyclone Roller Brush
The roller brush traps the majority of dirt and debris, making regular cleaning a must.
-
Remove Hair and Dirt:
- Use scissors or your fingers to pull away hair and debris wrapped around the brush.
- Focus on the brush ends, as hair often gets caught there.
-
Inspect for Damage:
- Check for cracks, missing bristles, or wear on the brush. If you notice any damage, consider replacing it to maintain cleaning performance.
-
Wash if Necessary:
- Wash the brush gently with warm water if it becomes dirty. Avoid using detergents that may damage the materials.
- Let the brush air dry completely before reattaching it. Moisture can harm the vacuum’s motor.
Once the roller brush is clean, proceed to the side brushes.
Step 5: Clean the Side Brushes
The side brushes ensure that dirt from corners and edges is swept into the vacuum’s path. Keeping them clean enhances their effectiveness.
-
Remove Debris:
- Manually pull away any hair or dirt tangled around the bristles.
- Use scissors to cut away tightly wound hair for easier removal.
-
Wash and Dry:
- Rinse the brushes under water if they are particularly dirty.
- Allow them to dry completely before reattaching. Wet brushes can cause mold or damage over time.
-
Inspect for Wear:
- Check for bent or damaged bristles. Swap out the side brushes when they show signs of wear.
With both brushes clean, it’s time to focus on the bearings.
Step 6: Check the Brush Bearings
The brush bearings are small but vital components that allow smooth rotation. Hair and dirt often get stuck in this area, so cleaning them is essential.
- Remove any hair wrapped around the bearings using your fingers or the cleaning tool.
- Clean the bearings and nearby areas with a soft cloth to clear away dust and dirt.
- Ensure the bearings rotate smoothly before reassembling the brushes.
Once the bearings are clean, you’re ready to put everything back together.
Step 7: Reassemble the Brushes
Putting the brushes back into place is as simple as removing them. Follow these steps:
- Align the roller brush with the slots in the brush compartment. Slide it in and ensure it clicks securely into place.
- Insert the side brushes into their slots, pressing firmly or screwing them in if necessary.
- Close the brush guard and ensure it snaps shut.
Now your Narwal Freo Z Ultra is ready for action with freshly cleaned brushes!
How Often Should You Clean the Brushes?
Brush cleaning frequency depends on your household conditions:
-
Weekly: For homes with pets or high foot traffic.
-
Biweekly: For regular households.
The Narwal Freo Z Ultra requires less frequent cleaning thanks to its design that prevents tangles, simplifying upkeep.
Tips for Long-Term Brush Maintenance
-
Replace Brushes Regularly:
- Replace the roller and side brushes every 6-12 months, depending on wear and usage.
- Narwal vacuums notify you when it’s time for replacements.
-
Use Self-Cleaning Features:
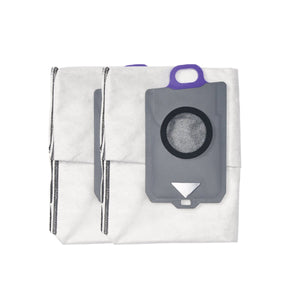
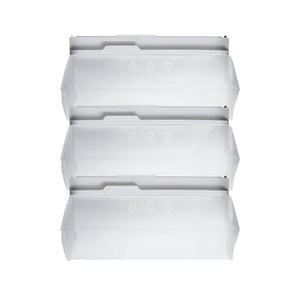
- The Narwal Freo Z Ultra’s self-cleaning dock keeps brushes and mop pads fresh, minimizing manual maintenance.
-
Avoid Harsh Chemicals:
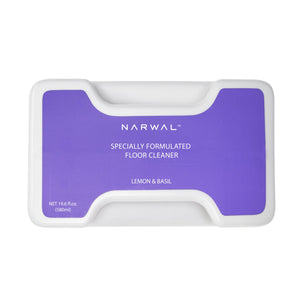
- Use only water or mild cleaning solutions to prevent damage to the brush materials.
When the Brush Isn’t Spinning: Causes and Fixes
A vacuum brush that stops spinning isn’t always broken. In many cases, you can fix it quickly with a few simple checks.
First, check for tangled hair or debris around the brush ends or near the bearing. Even a small blockage can stop the brush from turning. Remove the brush and clean both ends carefully.
If the brush was just cleaned or replaced, make sure it’s seated correctly. A brush that isn’t fully in place may not connect with the motor and won’t spin. Try removing it and reinstalling it until it clicks or fits firmly.
If the brush feels stiff, the bearing might be dirty or stuck. Wipe the area with a soft cloth. A small amount of vacuum-safe lubricant can also help restore smooth movement.
Sometimes, the brush itself is worn out—bent bristles, cracks, or loosened parts can prevent it from spinning properly. If that’s the case, replacing the brush is the best solution.
If none of these steps work, the issue could be with the motor. That’s less common, but if you’ve ruled out other causes, consider reaching out to support.
Most spinning issues are easy to solve. A quick inspection and clean-up are often all it takes.
If you're using a Narwal product and the issue doesn’t go away after basic cleaning or checking, it's best not to try fixing it yourself. Contact Narwal’s support team or an authorized service provider as soon as possible. Attempting to repair it on your own may cause further damage and affect your warranty.
More Tips for Maintaining Your Robot Vacuum
Maintaining your vacuum in top condition goes beyond brush care. These quick habits help improve long-term performance:
-
Check the wheels regularly. Dust and hair can build up around them, making movement uneven. Wipe them with a damp cloth if needed.
-
Clean the sensors. Dirty sensors may cause navigation issues. Use a soft, dry cloth to wipe them every few weeks.
-
Avoid heavy debris. Robot vacuums are best for daily light cleaning. For large messes, use a standard vacuum first.
-
Empty the dustbin often. A full bin can reduce suction. Try to empty it after each use or every few runs.
-
Watch out for problem surfaces. Thick rugs, long fringe, or cords can trap the brushes. Use no-go zones if your model supports them.
-
Keep the charging area clear. Make sure nothing blocks the dock, and clean the charging contacts to ensure proper connection.
Following these simple steps helps your robot vacuum work better and last longer—with less effort from you.
Clean Brushes, Clean Results — You’ve Got This
Brush maintenance might seem like a small task, but it has a big impact. By learning how to clean, check, and replace your robot vacuum’s brushes—the right way—you’re ensuring every clean is thorough, quiet, and efficient. With Narwal Freo Z Ultra as your guide, brush care is no longer a guessing game.
You’ve just gained more than steps—you’ve gained clarity, confidence, and control over how well your vacuum performs. And if you’re ready for the next level of hands-free care, Narwal’s newest release Narwal Freo Z10 delivers advanced brush maintenance and even smarter floor management.
[cta:narwal-freo-z10-robot-vacuum-mop]
Don’t wait for performance to drop before taking action.
Talk to our team, explore Narwal solutions, or get personalized help now—so your vacuum stays as smart as you are.
FAQs
Can I use third-party brushes with my Narwal Freo Z Ultra?
It’s recommended that original Narwal replacement brushes be used to ensure compatibility and optimal performance. Non-original brushes might not align properly or deliver the same cleaning performance.
How can I prevent hair from tangling on the brushes?
Opt for a tangle-resistant vacuum like the Narwal Freo Z Ultra. The Narwal Freo Z Ultra features a tangle-free roller brush designed to prevent hair buildup by directing strands away from the brush. This minimizes maintenance and ensures smooth cleaning, even in homes with pets or long hair.


